Indian Fire holes for cooking
First
I selected a site where I would be sure there would be some wind. Most
of our winds come from the south so I ended up behind the garage and
hidden from the road. But where I would be sure of a nice breeze.

Then I started to dig. I decided to use the post hole digger as it was here and I was doing this at home. A shovel or camp shovel like a fox hole shovel also works. So the holes were around 8 inches across.

I
dug both holes about 11 inches down; anywhere from 9 to 12 inches works
and my holes were about 11 inches apart, 9 or 10 inches works also.


I started to dig down inside the holes to join them.

A
hand width dug with my large spoon worked well for the joined hole for
air to get to the second hole where you will lay your fire.

I collected dry
pine needles, sticks and pine cones. I also pushed in some dryer lint
and dry moss from the trees. Fire starters can also be used, charcoal
etc. Also clear away debris that could catch fire. Make sure there are no roots to catch fire under ground. (I didn't clear away the needles at the time as everything was wet and more rain coming in.)

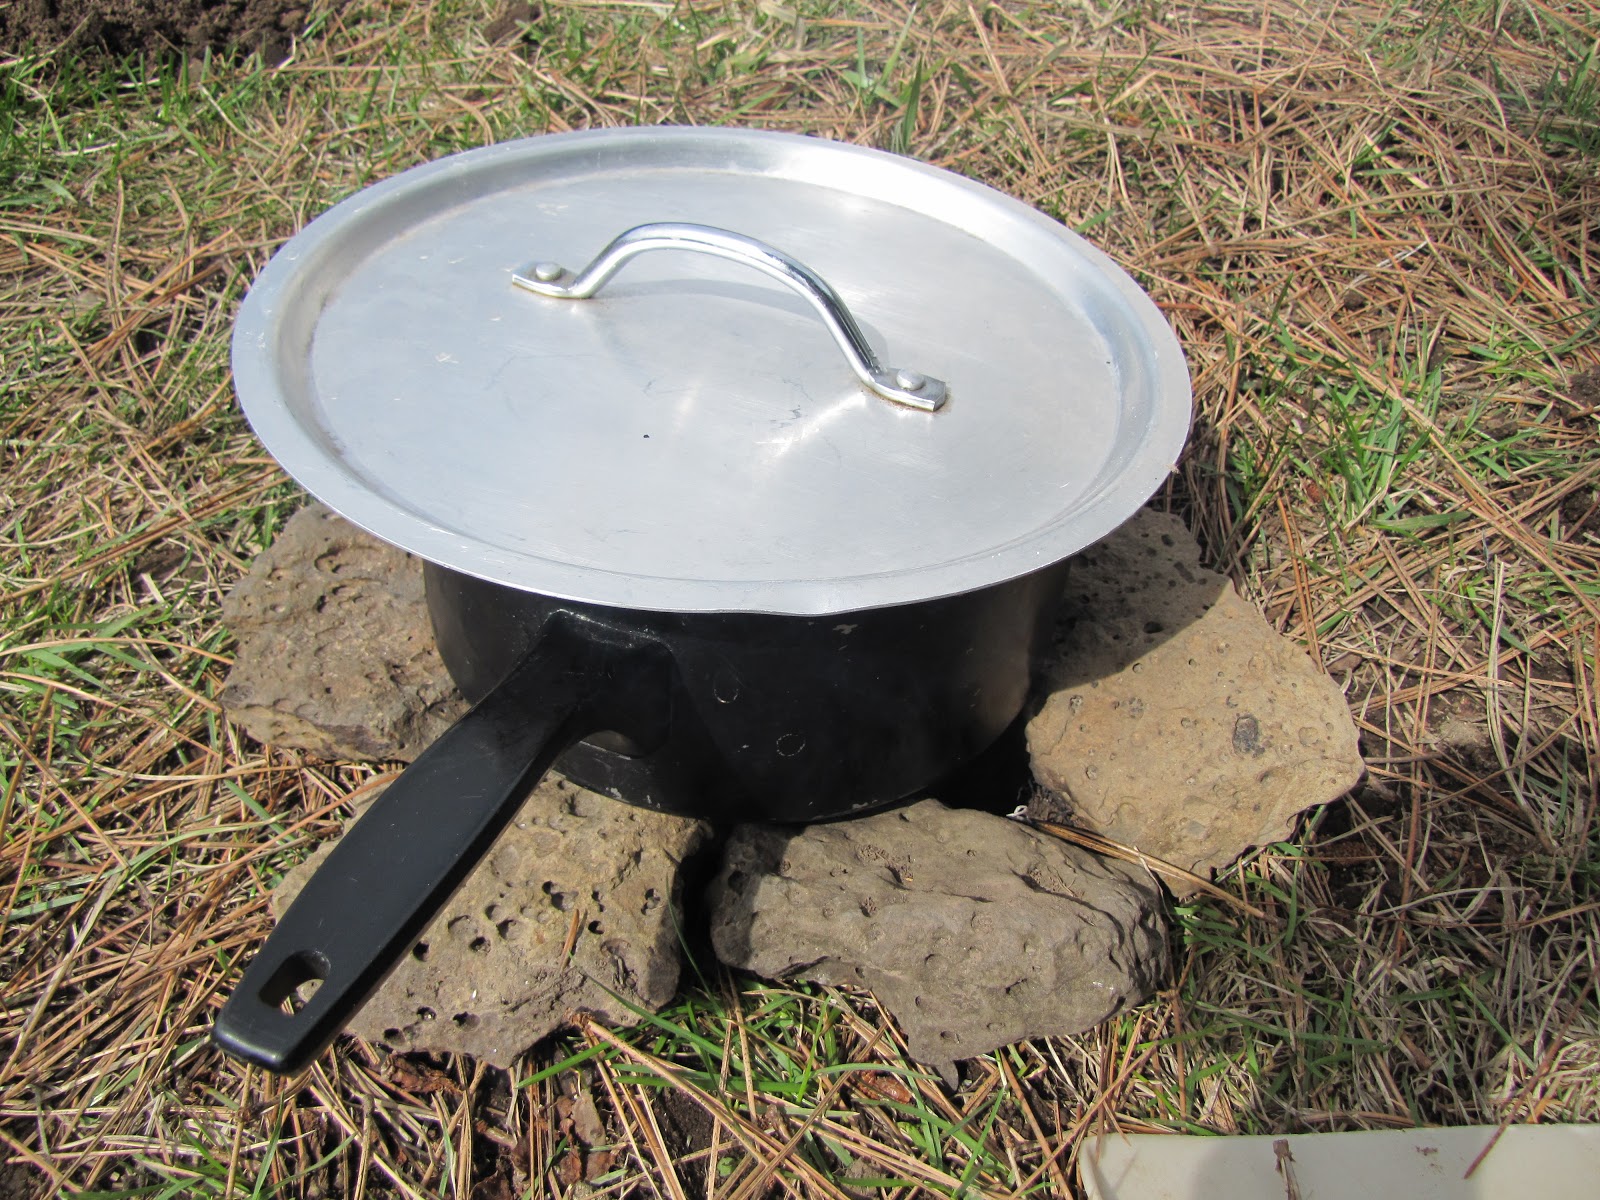
I
also collected some flatish home grown lava rock that we have plenty of
for my cooking hole. The pot will be placed on these rocks and that way
air still gets in from the top also to allow air flow. You can also
lay a rack on top of the rocks for your pots or # 10 cans to sit on.

I made sure I had some dry bark and pieces of wood to add to my fire. It didn't take much to get a good hot fire going.

Next I let the fire burn for a a few minutes to make sure it was going good and nice and hot.
I didn't even use the rest of this bark the fire got hot with very little to keep it going.
Also
if there is a lot of wind you may need something to help direct the
wind toward or away. A board, plywood or say a tarp held up with
branches works.

I covered my pot as my dog was nosing around and I didn't want any thing blowing into my lunch.
Within 5 to 6 minutes my food was good and hot.

Before
I went back inside all I did is shovel some of the dirt from digging
the holes back into the fire hole to smoother the coals. Done.

I
covered both my holes with a piece of sheet metal because I saw the
rain storm was headed in as predicted. Anything bigger then the holes
works.
If you are moving to another area while camping just fill them back in.
If you are moving to another area while camping just fill them back in.
Items needed:
1. Shovel, camp shovel or post hole digger
2. Hand trowel: optional
3. Small hand hoe: helps get dirt out of the hole easily
4. Large strong spoon
5. Rocks
6. Matches
7. Fire starters:optional (but i love them)
8. Dry small stuff for starting your fire
9. Pots, lids, pot holder, spoons etc
9. Pots, lids, pot holder, spoons etc
10. Something to block or direct the wind if needed.
Thats simple , but impressive . Never seen that done before .
ReplyDeleteThat looks so easy! I can't wait to try it. How does it hold up to rain? I'm wondering if I'd be able to leave it to use kind of long-term.
ReplyDeleteNice blog. I really appreciate your quality work. Keep continuing to write more like this.
ReplyDeletetop camping shovel review