Our niece Steph has a new little boy. A hearty welcome to the world young man.
 Our granddaughter K has had the flu this week, never fun for anyone. She is feeling better this afternoon.
Here is a good recipe from a great site.

Here is a good recipe from a great site.
Posted: 21 Jul 2014 08:00 AM PDT
Have you ever had those Datrex or Mainstay
Emergency food ration bars? If so, you may have realized
that they aren’t the best of survival rations for taste but they will
keep you alive. Nuff said. And hard tack? Yikes! You may as well be
eating a brick. 
Well, I came across this article a while back on making survival bars and I thought I would give it a shot myself to see what they tasted like. Please read the original article if you like, though, I will post the ingredients and steps below, as well as my own experience making them.
Also note that according to the
original article the entire batch makes approximate 2000 calories, NOT
just a single bar. Depending on how you cut it, a single bar will be a
few hundred calories at most. This is about the same as the Datrex or
Mainstay rations.
As for taste, they’re not bad at all. In fact, I was surprised that they tasted so good.
Ingredients:
- 2 cups oats (I used regular oats)
- 2 1/2 cups powdered milk (I used nonfat from LDS storage)
- 1 cup sugar
- 3 tbsp honey
- 1 3-oz. package lemon jello (the recipe says you can use orange instead)
- 3 tbsp water
Directions:
- Mix oats, powdered milk, sugar in a mixing bowl.
- Mix water, jello, honey in a saucepan. Bring to a rolling boil.
- Add jello mixture to oats mixture and blend well.
- After being thoroughly mixed, press into a lined (with parchment paper) 9″x13″ pan.
- Cut dough into bars and ensure they’re completely cut through.
- Bake bars at 200 degrees Fahrenheit for 1.5 to 2 hours. Remove from pan and allow to cool. Alternatively, you can dehydrate them at 145 degrees for 4-6 hours.
- After dry and cooled, separate bars and package in a foodsaver bag or mylar bag.
I should also note that there
was a noticeable difference in the color of the baked versus dehydrated
bars, in that the dehydrated bars were significantly lighter in color
than the oven bars. The taste seemed the same.
Notes:
- If dough is dry add water 1 tsp at a time until the dough is still crumbly but able to stick together when pressed. I ended up using about two tablespoons and that worked well for me.
- Do NOT purchase Jello instant
pudding mix. That’s what I bought the first time I tried this and it
didn’t work out well. My wife laughed at for a minute or two.
When finished laughing, she told me I needed the actual lemon Jello
packet that says “Gelatin” on it. In my defense, the box said Jello
right on the front.
- Remember, the drier the better because moisture will cause them to go bad and possibly even to develop Botulism depending on how you package them for the long term. My advice: take your time drying!!
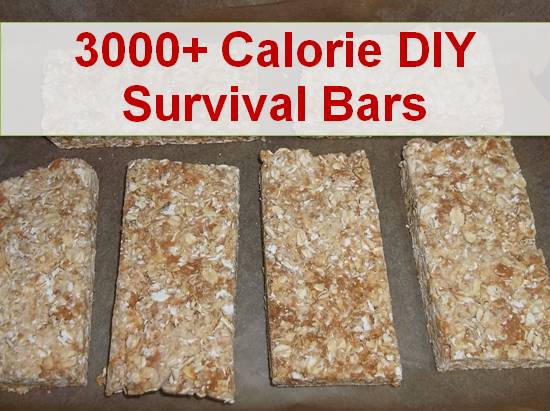
Caloric Breakdown
I decided to do my own math and
found that the entire batch made up over 3000 calories. If cut into 12
roughly equal bars that’s 260 calories per bar. Unless I did my math
wrong here’s what I found:
- Oats = 560 calories (at 140 calories per 1/2 cup)
- Milk = 1333 calories (at 100 calories per 3 Tbsp; there are 40 Tbsp in 2.5 cups)
- Sugar = 720 calories (at 15 calories per 1 tsp; there are 48 teaspoons in 1 cup)
- Honey = 180 calories (at 60 calories per 1 Tbsp)
- Jello packet = 320 calories (at 80 calories per serving, 4 servings per package)
Well, that’s about it. I
packaged mine in foodsaver rolls, marked the date, and stashed them in
my workshop for a while to see how they do over the long term. Compared
to what you can purchase commercially made and certainly when compared
to hard tack, these are winners!
Yep, these are pretty good. They travel pretty well too if you package them properly; foodsaver or similar is great for this as it keeps them "blockish". LOL. I am trying to figure a way to make them with fewer grams of sugar. So far I've got the taste but it winds up being more like granola as the sugar helps to make everything stick together better in the original recipe.
ReplyDelete